Intro
Are you feeling a bit stir-crazy these days? That nagging urge to spruce up your living space, but the thought of a major renovation just seems too daunting? Well have I got the perfect solution for you—DIY flooring projects!
Not only will tackling a new floor breathe fresh life into any room, but it’s also an incredibly rewarding hands-on activity. Trust me, there’s nothing quite like the sense of pride that comes from standing back and admiring your beautiful new floors, knowing you did that all by yourself.
So roll up those sleeves and get ready to refresh your home one plank (or tile!) at a time. This guide has everything you need to nail your DIY flooring dreams, from picking the perfect materials to pro tips on tools and installation. Let’s dive right in!
Assessing Your Project Needs
Before you go picking out pretty patterns, the first step is to honestly assess the room(s) you’ll be working on. A few key questions to ponder:
-
What’s the room’s main purpose? High traffic areas like hallways or living rooms will need extra durable flooring compared to a bedroom.
-
How large is the space? Bigger jobs may require more tools/materials and can impact your budget.
-
What shape is the subfloor in? You may need to repair or replace damaged sections first.
-
Are you willing to move heavy furniture? Some types of flooring require completely empty rooms.
Get an accurate picture of your project scope up front, and you’ll be able to plan accordingly. Skipping this step could lead to disastrous (re: pricey) surprises down the road!
Choosing Your Flooring Materials
Ah, now for the fun part—picking out your new floors! When it comes to DIY projects, you’ve got tons of affordable, stylish options. Some top contenders:
Luxury Vinyl Planks (LVP) – The Goldilocks of flooring—not too expensive, not too cheap. LVP is crazy durable, waterproof and can mimic pricier wood or tile looks. Plus, those click-lock joints make installation a breeze.
Laminate Floors – Another budget-friendly classic with huge variety in patterns and textures. Not waterproof though, so maybe avoid it in bathrooms.
Peel & Stick Tiles – Truly the lazy person’s dream floors. These bad boys go down with adhesive backing and zero mess. Limited style options but very beginner-friendly.
Hardwood – For those chasing that timeless, luxe look. Solid hardwood is stunning but pricier. Engineered wood offers more versatility at a lower cost.
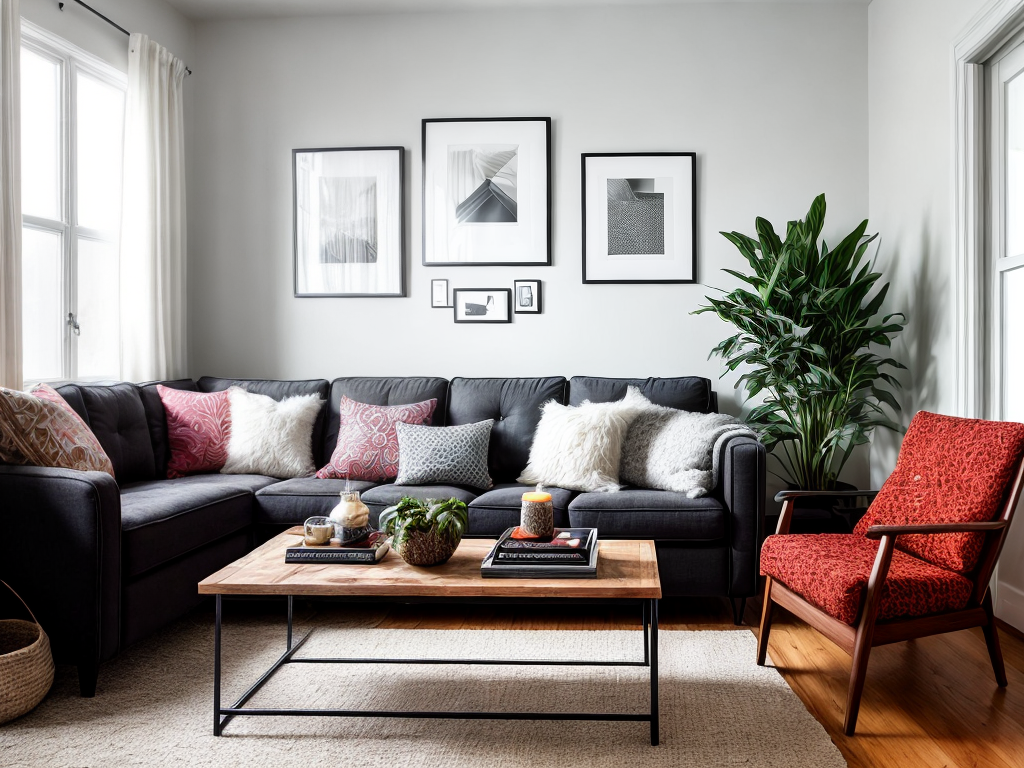
Think about your lifestyle needs and decor vibe when choosing materials. For example, busy households might want the no-fuss protection of vinyl, while hardwood feels right at home in a midcentury modern space.
And of course, your local hardware store like Atchison Construction Inc is an amazing resource for seeing top brands and products in person. Don’t be afraid to bring home samples to test out!
Gathering Tools & Preparing the Space
Ok, you’ve picked your perfect new floors. Now it’s time to gear up with all the right tools and do some quick prep work:
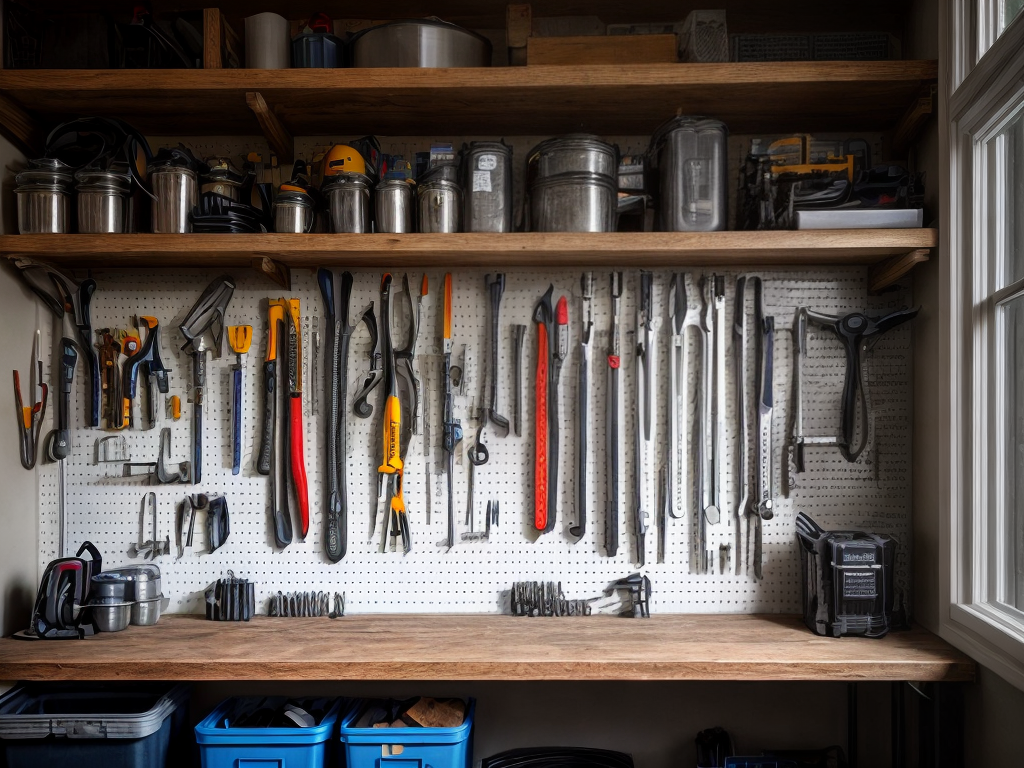
Must-Have Tools:
– Knee pads (trust me on this one)
– Rubber mallets
– Tapping blocks
– Utility knives
– Straight edges/square
– Spacers
– Specialty tools for your material (e.g. a vinyl cutter)
Don’t try skimping here—having the proper gear makes installation infinitely easier and helps achieve clean, professional results.
As for space prep, clear out any furniture and remove baseboards/trim first. Vacuum and clean the subfloor thoroughly, repairing any damage you find. Some flooring will also need an underlayment layer for insulation/moisture protection.
Finally, carefully measure your room(s) and map out a pattern plan. This ensures you maximize every plank or tile for the best looking layout possible. No weird slivers by the walls!
Once your workspace is clean and your materials are organized, you’re all set to start laying that new floor! Be sure to have a cold beverage nearby—installing floors is seriously thirsty work.
Installation Techniques & Pro Tips
Alright, time for the main event! Installing your new DIY floors may seem intimidating, but it’s absolutely a skill anyone can master with some patience and care.
A few universal tips to keep in mind:
-
Always follow the manufacturer’s installation guidelines to a T. Those lil’ instruction books exist for a reason!
-
Work from multiple boxes/bundles to blend any slight color variations. This creates a more natural, cohesive look.
-
Use spacers along the walls to allow for expansion/contraction. Floated floors need some wiggle room!
-
Start your layout from the center of the room and work towards the walls. This minimizes unsightly cuts.
-
When cutting pieces, score along your line first before snapping off the excess. Cleaner breaks = tighter joints.
For specific installation methods, techniques will vary based on your flooring type:
LVP/Laminate Floors: These utilize that handy click-lock system for quick, gapless installation. Score, lock, repeat in a simple staggered pattern.
Peel & Stick Tiles: Even easier! Carefully peel off the adhesive backing, position your tile, then apply firm pressure to stick it down. Use a rolling pin for extra sticking power.
Hardwood: More labor-intensive but so rewarding. Secret nail the planks down using a nail gun, then cover the seams with matching wood putty. The epitome of craftsmanship!
Whichever path you choose, take it slow and don’t get discouraged. Chances are your first few rows will go a bit slower as you get into a groove. Trust the process! Before you know it, you’ll be a DIY flooring master.
Finishing Touches & Maintaining Your New Floors
You made it—your sparkling new floors are installed! Well, almost. A few finishing tasks remain before you can kick back and admire your handiwork:
First, reinstall any baseboards, trim pieces or transitions strips you removed earlier. These give your floors that crisp, professional finish and ensure no unsightly edges are exposed.
If desired, add area rugs, floor vents or other decorative touches to personalize your new floors even further. Don’t be afraid to get creative and make the space truly your own!
Once everything’s in place, give the entire area a final thorough cleaning. Make sure no stray bits of debris are left behind. Then simply sit back and bask in your DIY accomplishments!
Of course, it’s crucial to properly maintain and protect your new investment over time. Follow the recommended cleaning instructions for your specific flooring type. Some universal tips:
- Vacuum or sweep regularly to remove grit and grime
- Use manufacturer-approved cleaners only
- Place rugs/mats in high traffic areas
- Wipe up spills immediately
With just a little routine TLC, your bold new DIY floors can retain their just-installed beauty for years and years. You’ll definitely be the envy of all your friends and fam!
Final Thoughts
There you have it, DIY flooring mastery is officially within your grasp! I hope this guide has inspired you to take the plunge on a refreshing new upgrade for your home.
While the process may seem intimidating for first-timers, just break it down step-by-step and trust yourself. If you can assemble IKEA furniture, you can absolutely handle laying floors like a pro. And let’s be real, how cool is it to be able to say “Yeah, I did this entire room myself!”?
Whether you go big with hardwood or keep it low-key with peel-and-stick tiles, putting in that personal handiwork always pays off. Beautiful spaces that truly feel like your own? Priceless.
So what are you waiting for? Your dreamy new floors are just a few YouTube tutorials and some elbow grease away. Get out there and make your home the envy of the neighborhood with a bold, fresh DIY flooring refresh! You’ve totally got this.
And if you ever need any guidance, supplies or pro tips along the way, you know where to find my friends at Atchison Construction Inc. Wishing you all the best with your upcoming projects!


